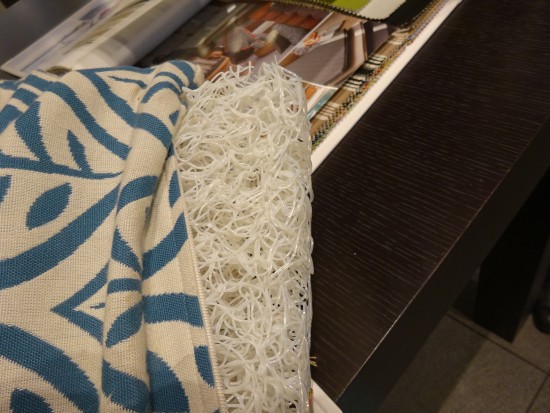
For Exterior Cushion
- 2015年 5月 29日
- コメントを書く
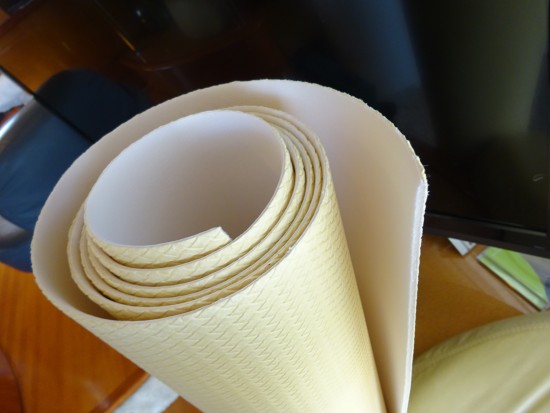
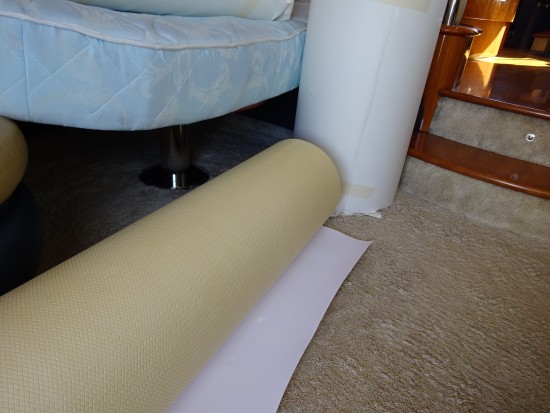
There are some exterior cushions for boat.
I find another type of urethane for exterior use.
We can choose the hardness though.
ボートでは色々なタイプの屋外用クッションがあります。
新しいクッション用のウレタンを発見しました。
硬さの調節も出来るので、使ってみます。

カテゴリー : Design

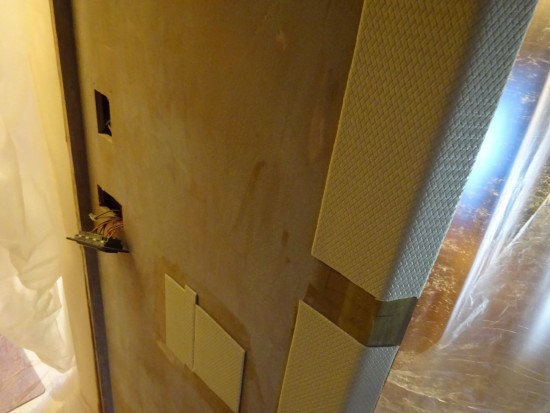
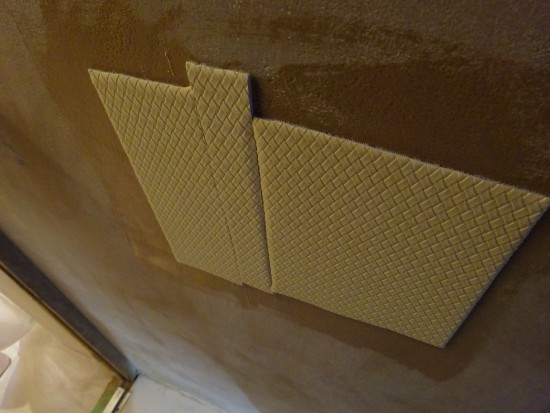
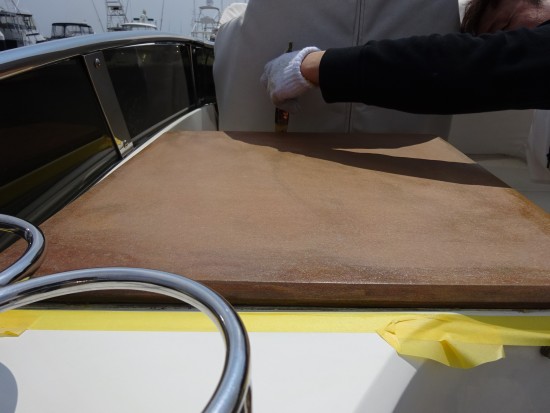
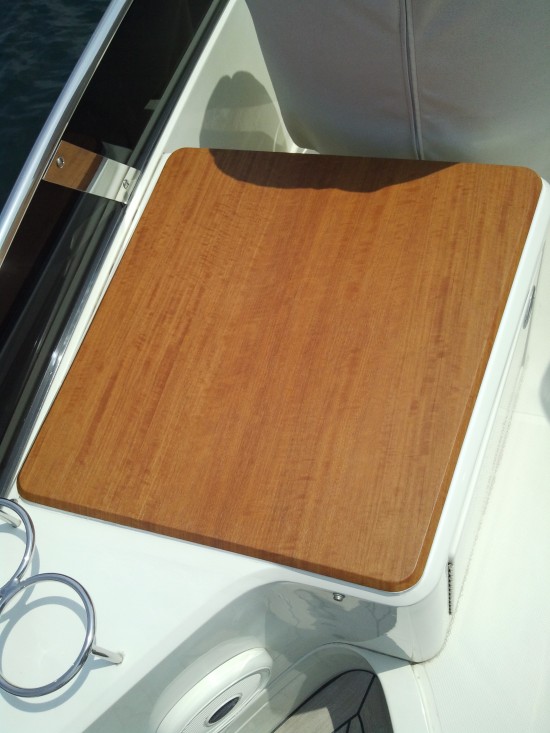
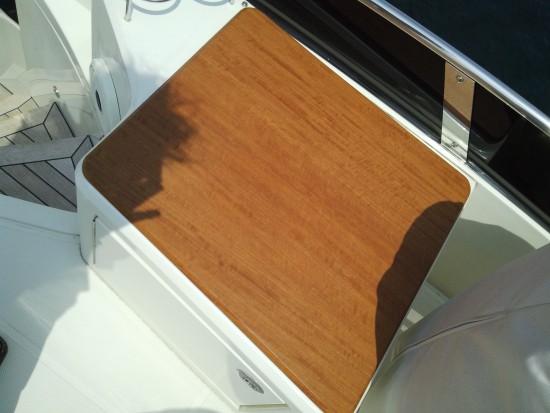
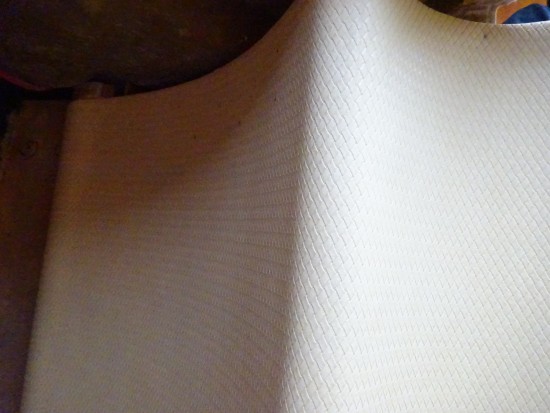
The counter is totally outside of the American-Italian Designed boat.
It means the installation surface get rain and sunshine.
We tried to install suitable sheet under this circumstance.
アメリカ製のボートにウッドパターンのシート施工をしました。
シートと下地の粘着性を高める為に、オープンタイムをもうけプライマーを塗ってから施工します。
屋外という設置状況を考慮し、適したマテリアルそして施工方法を考えます。
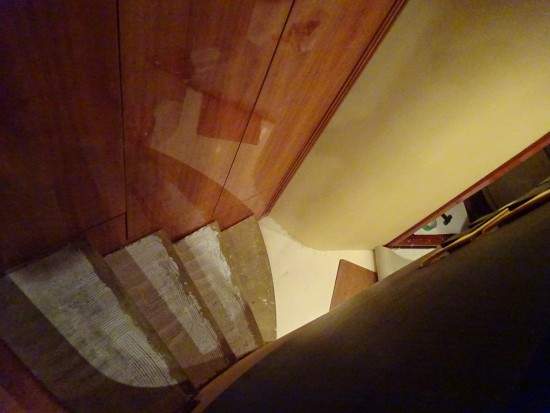
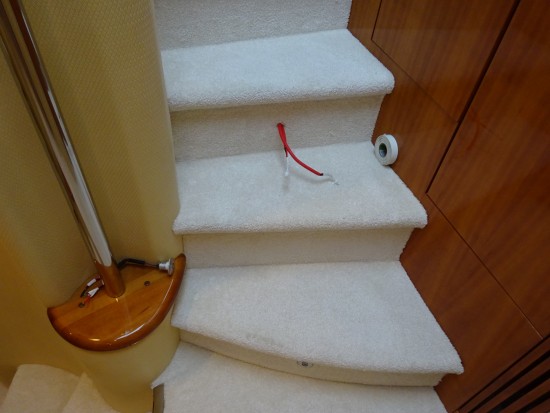
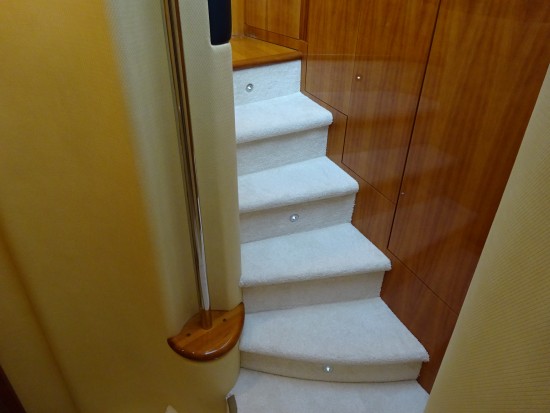
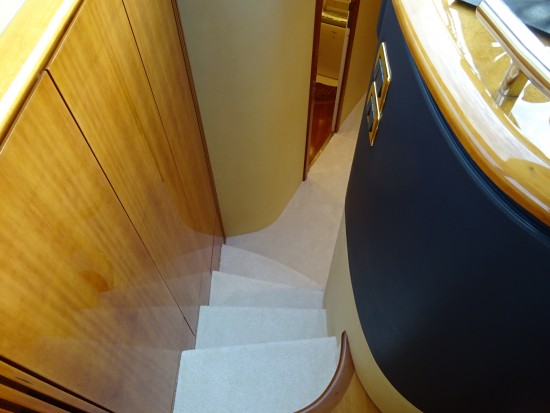
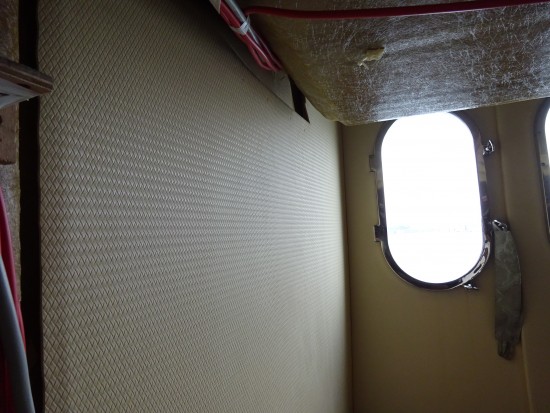
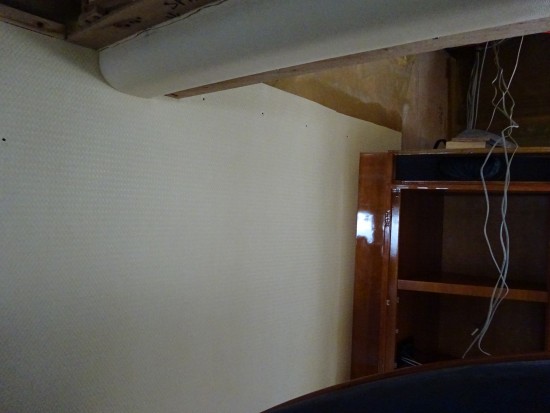
The refit for 60 footer boat is moving forward.
It turns out clean and elegant look interior.
60フィートの工事が段々と形になってきました。
テクスチャーのあるレザーや、新しいカーペットでリフレッシュしたインテリアに生まれ変わります。
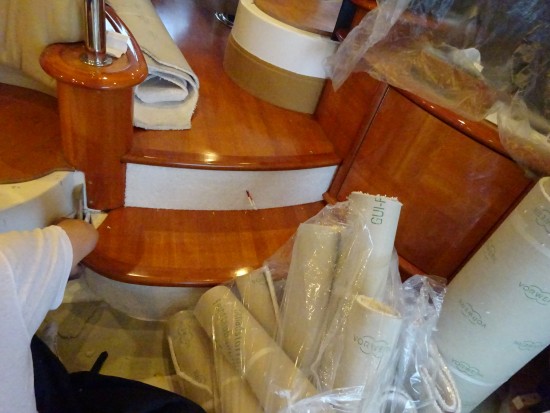
We have started the refit for big Italian boat.
The refit menu is several and it’ll take more than 2 WK, however, the captain is preparing for the site for smooth operation.
She is gonna get more beauty on this boat!!
イタリア製の大型ボートのインテリアのレストアを今週から開始しました。
工期は2週間以上の改修工事で、メニューは様々あります。ですがキャプテンが現場やスケジュールを調整してくれて今の所工程通りに進んでいます。
工程ごとに徐々にアップしていきます。